

To issue a card to yourself, you need to navigate to the Cards page.
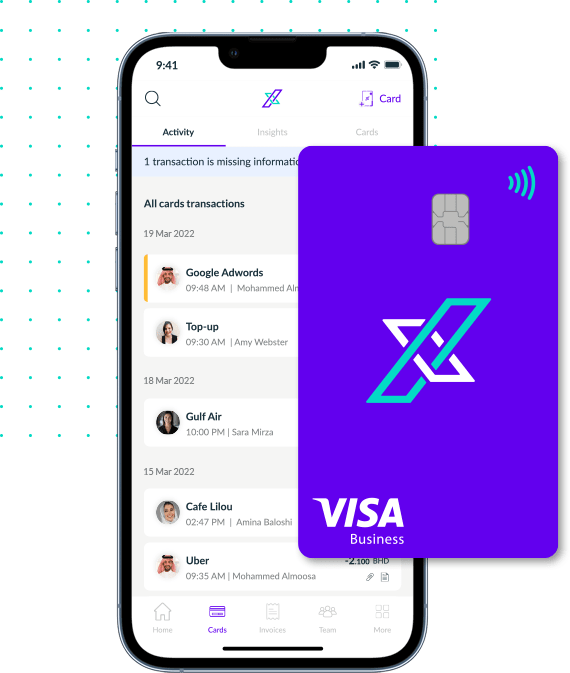
To get to the Cards page, click on the “Cards” icon on the bottom navigation bar. You can issue two types of cards to your team members; Physical Cards or Virtual Cards.
If you opened your account in the UAE and are issuing your first card to yourself, you will need to verify your identity. Click here to learn how to verify your identity.
Add hyperlink how to verify your identity.
Option 1 – Issue a Physical Card
- To issue a new physical card to yourself, click the “+Card” icon in the top right corner of the screen.
- An “Issue a new card” option selector will appear from the bottom of the screen.
- Select the first option “Issue card to yourself”
- Click Continue
- On the next screen, tap the “Issue physical card” button at the bottom of the screen.
- You will now be taken to a screen where you can add a nickname for your card. This is an optional step you can skip it or enter a nickname and click the arrow to proceed.
- Select the address where you want the card to be delivered – either to you personal address or it can be delivered to your registered work address.
- On the next screen, you will be asked to authenticate your request by entering your 6-digit passcode.
- You will see a success screen once you have authenticated your request.
- The inactivate card will instantly be visible in your app and under the My cards tab in your app.
- You will need to activate your card through the app once you receive the card. You can click here to learn how to activate your card.
It typically takes between 1 to 3 business days to deliver a physical card.
Option 2 – Issue a Virtual Card
- To issue a new physical card to yourself, click the “+Card” icon in the top right corner of the screen.
- An “Issue a new card” option selector will appear from the bottom of the screen.
- Select the first option “Issue card to yourself”
- Click Continue
- On the next screen, swipe right till you get to the virtual card option.
- Tap the “Issue virtual card” button at the bottom of the screen.
- You will now be taken to a screen where you can add a nickname for your card. This is an optional step you can skip it or enter a nickname and click the arrow to proceed.
- On the next screen, you will be asked to authenticate your request by entering your 6-digit passcode.
- You will see a success screen once you have authenticated your request.
- The new card will instantly be visible in your app under the My cards tab.
- Virtual cards are active the instant they are issued. You can add funds to the card straightaway, and start using it immediately.
You can learn how to add funds to your cards by clicking on this link.
If you face any problems issuing cards to your team members, please reach out to us at support@xpence.com.